Step 4: Automated Signing
Production Grade DeploymentFor more information on achieving a production-grade deployment with logging, metrics and secure storage with backups, check out the sub-pages of Virtual Signer Deployment.
To automate the signing process of our vaults, we'll use the Virtual Signer; a server-side Multi-Party Computation (MPC) application that can run within AMD SEV-SNP secure enclaves on AWS or self-hosted on bare metal hardware. It integrates with io.vault and io.network to perform Threshold Signature Scheme (TSS) operations just as a physical device would within the system.
Pre-requisites
Before we can start running a virtual signer we'll need to make sure that we have some key infrastructure requirements:
- For AWS deployment: Use our CloudFormation template or CDK deployment (includes AMD SEV-SNP hardware security)
- For self-hosted deployment: A Linux server with Docker support (no special hardware required)
- The following outbound traffic allowed:
mqtt.vault.iofinnet.com(port 8084, TCP)api.iofinnet.com(port 443, TCP)- RPC url to your polygon node (usually port 8545, TCP)
1. Installing the Virtual Signer
This is a summary of the steps. For a more comprehensive guide, see Virtual Signer Deployment.
AWS Deployment
For AWS deployment, use the CloudFormation template which automatically provisions the infrastructure with AMD SEV-SNP security.
Self-Hosted Deployment
For self-hosted deployment, connect to your server and pull the official virtual-signer docker image hosted on dockerhub, using the DOCKER_CONTENT_TRUST=1 flag to enforce a signature and validity check:
DOCKER_CONTENT_TRUST=1 docker pull iofinnet/io-vault-virtual-signer:latestCreate a docker-compose.yml with the following minimal configuration:
version: "3.7"
services:
  virtual-signer-1:
    container_name: virtual-signer-1
    restart: unless-stopped
    image: iofinnet/io-vault-virtual-signer:latest
    logging:
      options:
        max-file: "5"
        max-size: "10m"
    ports:
      - 8181:8181
    environment:
      - VS_CONFIG_FILE=/etc/vsigner/config.json
      - VS_ENV=prod-sc-seed
      - VS_SCConfigRPCAddress="https://polygon-rpc.com/"
      - VS_SCConfigContractAddress="0x34a18dc10bD405435b22f70Ed8Df2D9E089A3813"
      - VS_MACAddressFilePath="./"
      - VS_WaitBetweenRetries=30
      - VS_MaxRetries=2880
      - SCConfigRPCAddress="https://polygon-rpc.com/"
      - SCConfigContractAddress="0x34a18dc10bD405435b22f70Ed8Df2D9E089A3813"
      - MACAddressFilePath="./"
      - WaitBetweenRetries=30
      - MaxRetries=2880
    volumes:
      - "./:/var/vsigner"
The following environment variables are related to usage with our 'Virtual Signer' app, that allows you to configure, deploy and manage virtual signers and transaction policies through a UI.
VS_SCConfigRPCAddress: EVM RPC url that used for interacting with the transaction-policy and configuration smart contracts on Polygon. This allows us to provide you withVS_SCConfigContractAddress: Smart contract address of our config contract. (all contents encrypted)
See here for a full list environment variables and here for more info on the virtual signer app.
Development ModeFor local testing and development (not production), self-hosted deployments can run without hardware security by setting appropriate environment variables. AWS deployments always include AMD SEV-SNP hardware security.
Obtaining the Hardware ID
In our next stage we'll start using the virtual-signer UI to complete the setup journey. Before we can start using the app we'll need to grab mac address of newly deployed virtual signer, the app will later use this to identify your instance.
docker logs $(docker ps | grep "virtual-signer-1" | awk '{print $1}') 2>&1 | grep VSMACAddress2. Completing Setup
Navigate to the "Apps" section of the vault dashboard and load the "Virtual Signer". We will use this UI to complete the configuration by generating your new virtual signer instance a set of API credentials so that it can connect to your account.
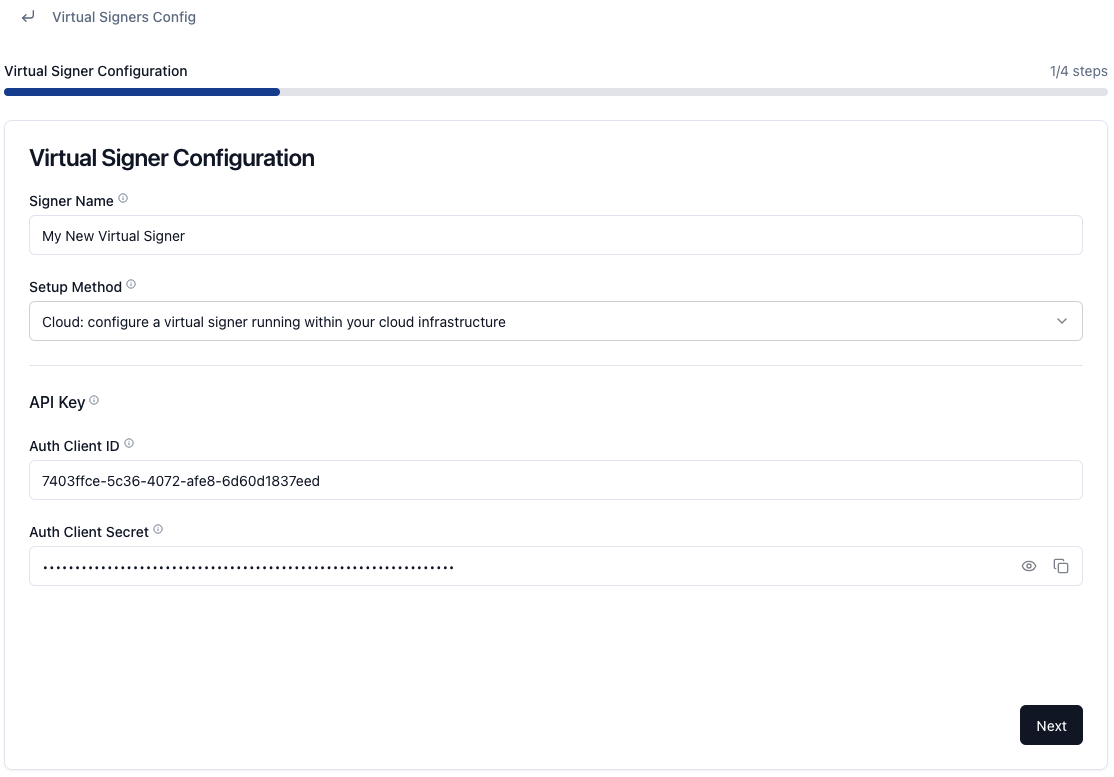
Page 2: Configuration
After you've generate your API credentials, we will specifiy some initial configuration values for your virtual signer. These values, along with the API credentials, will be encrypted and delivered to your virtual signer via the polygon network.
Hardware ID: AKA Mac address. This is a unique ID for your VS instance that is printed into the logs on initial start. Usedocker logs $(docker ps | grep "virtual-signer-1" | awk '{print $1}') 2>&1 | grep VSMACAddressPort: (Recommend default) The port address used to interact with the approval API exposed by the virtual signer.Prometheus Port: (Recommend default) The port address used to interact with the promethus client exported metrics.
For more infomation of configuration variables see our full list here.
Page 3: Policy Mode
Finally, you'll pick the 'policy mode' of your virtual signer. This will determine how you interact with your VS, and how it enforces its policies. Since this tutorial is targetted at larger institutions we'll use the 'API Mode', meaning that our virtual signer will call webhooks that we have defined to determine whether it should approve or reject a transation.
See our approval API docs to further understand how it works and our policy modes documentation for more information on the different policy modes.
2. Completing Setup
Updated 5 months ago