Step 2: Receiving Assets
Whitelisted Vault RequiredIf you have not followed Step 1 - Whitelist your Vault, then all transactions being sent to your vault will fail.
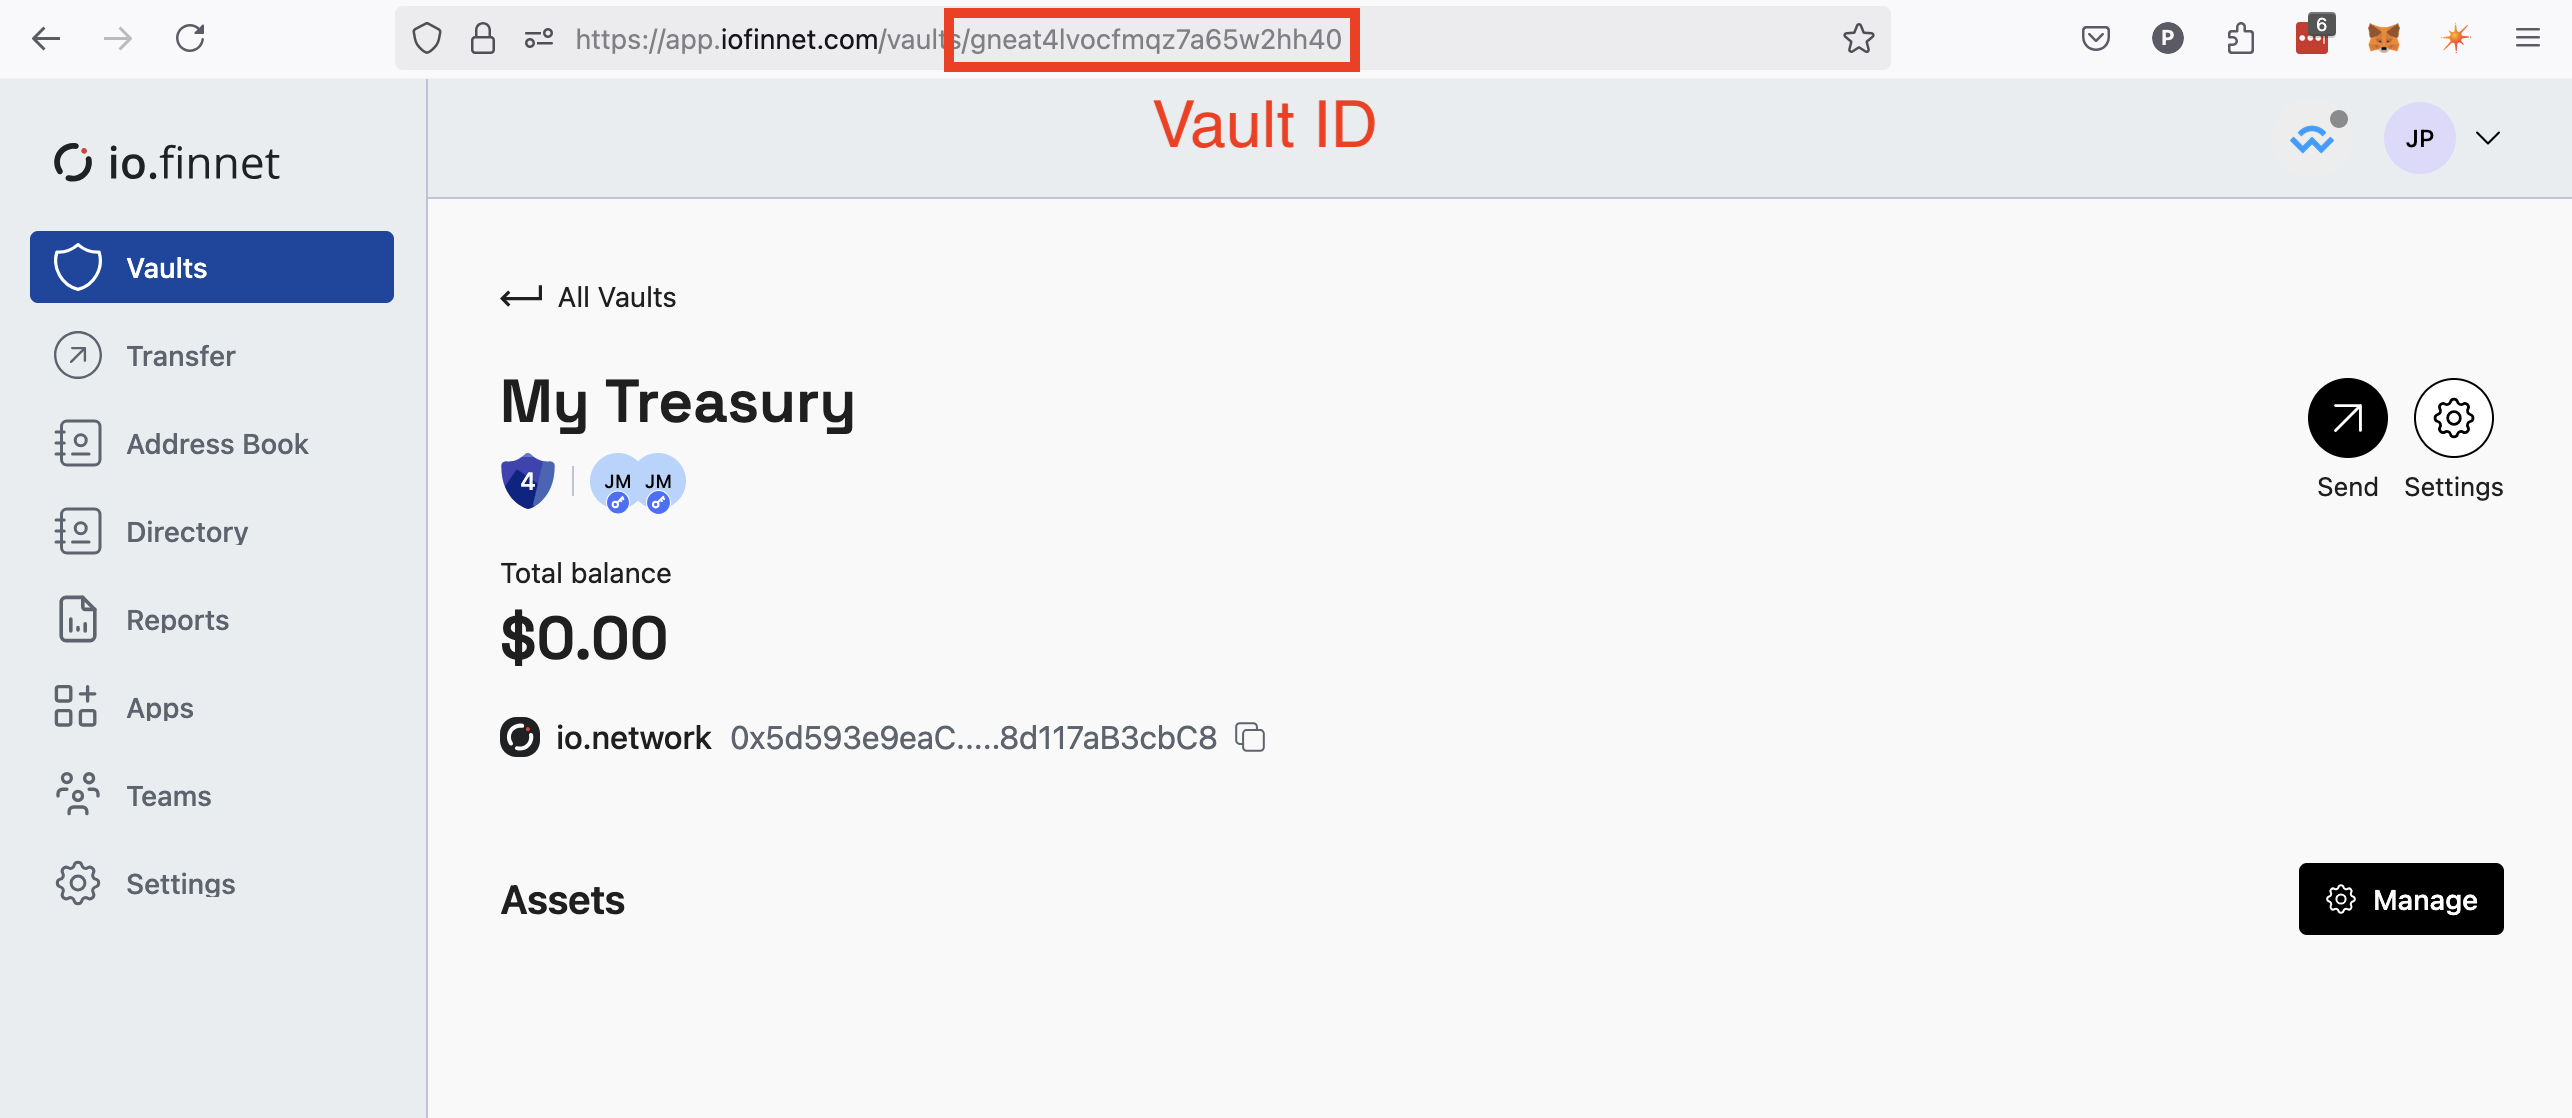
1. Getting Your Vault ID
Before you can query vault's APIs to view all inbound and outbound transactions, you'll need to obtain the 'VaultId' from either the dashboard or the /v1/vaults endpoint.
Simply navigate to your vault of choice, and the suffix of your vault can be found in the URL.
2. Viewing Incoming & Outgoing Transactions
Now that you have your vault ID, you can make use of the /v1/vaults/{vaultId}/network/statement endpoint to receive a statement of all inbound and outbound transactions.
const res = await fetch(`https://api.iofinnet.com/v1/vaults/${vaultId}/network/statement`, {
  method: 'GET',
  headers: {
    'Authorization': `Bearer ${accessToken}`,
    'Content-Type': 'application/json'
  }
});
const resJson = await statementResponse.json();
return resJson.data.map(tx => ({
  id: tx.id,
  status: tx.status,
  transactionHash: tx.transactionHash,
  amount: tx.amount,
  type: tx.type,
  sendingAddress: tx.sendingAddress,
  createdAt: tx.createdAt
}));
Public BlockchainsIf you are looking for public blockchain transactions such as Bitcoin or Ethereum, use
/v1/vaults/{vaultId}/assets/{assetId}/transactionsinstead.
2. Verifying the Remitter
When integrating into the io.network, it's very likely that you'd want to verify the identity of the entity sending funds into your vault. To do this you can query the io.network directory endpoint /v1/network/directory/address/{address}; contacts within this directory are vetted and managed by your principal member.
const getRemitter = async (senderAddress: string) => {
  const res = await fetch(`https://api.iofinnet.com/v1/network/directory/address/{sendingAddress}`, {
    method: 'GET',
    headers: {
      'Authorization': `Bearer ${accessToken}`,
      'Content-Type': 'application/json'
    }
  });
  const resJson = await response.json();
  return {
   id: resJson.data.id,
   address: resJson.data.address,
   alias: resJson.data.alias,
   type: resJson.data.type,
   displayName: resJson.data.displayName,
   companyName: resJson.data.companyName,
   legalName: resJson.data.legalName
  };
};
3. Putting it all together
Below is the full working version. Running this script will list all of the recent transactions to/from your vault, simply relace the vaultId variable with your own, and set the accessToken variable to a token obtained from the auth flow in step 1.
import fetch from 'node-fetch';

const getNetworkStatement = async (vaultId, accessToken) => {
  const response = await fetch(`
    https://rest-alb.vault.dev.iodevnet.com/v1/vaults/${vaultId}/network/statement`, {
    method: 'GET',
    headers: {
      Authorization: `Bearer ${accessToken}`,
      'Content-Type': 'application/json',
    },
  });
  console.log('Response:', response);
  const resJson = await response.json();
  return resJson.data;
};

const getDirectoryIdentity = async (networkAddress, accessToken) => {
  const response = await fetch(`https://api.iofinnet.com/v1/network/directory/address/${senderAddress}`, {
    method: 'GET',
    headers: {
      Authorization: `Bearer ${accessToken}`,
      'Content-Type': 'application/json',
    },
  });
  const resJson = await response.json();
  return resJson.data;
};

const processIncomingTransaction = async() => {
  const accessToken = 'eyJraWQiOi...XZK9poyQGLguMg';
  const vaultId = 'zf5tmfhfu16nadvgui9fivxz';

  console.log('Fetching transactions for vault ${vaultId}...');
  const transactions = await getNetworkStatement(vaultId, accessToken);

  for (const tx of transactions) {
    const remitter = await getDirectoryIdentity(tx.sendingAddress, accessToken);
    const benificiary = await getDirectoryIdentity(tx.sendingAddress, accessToken);
    console.log(`Transaction Amount: ${tx.amount} ${tx.asset.name} From: ${remitter.displayName} To: ${benificiary.displayName}`);
  }
};

processIncomingTransaction().catch(console.error);
Terminal Output:
Fetching transactions for vault zf5tmfhfu16nadvgui9fivxz...
Transaction Amount: 10.0002 (Test USD) From: John Snow Ltd. To: Iofinnet
Transaction Amount: 5.23 (Test USD) From: Iofinnet To: John Snow Ltd.
Updated about 1 year ago